
300zx Project Car
Will I give up? Will the z32 crush me in its cramped engine bay? Or will I end up with an OK car? Tune in to find out!
Rebuilding the Front LCA
25 May 2017
| $100 | used front lower control arm |
| $100 | 2x front lower ball joints |
| $30 | ES polyurethane LCA bushing |
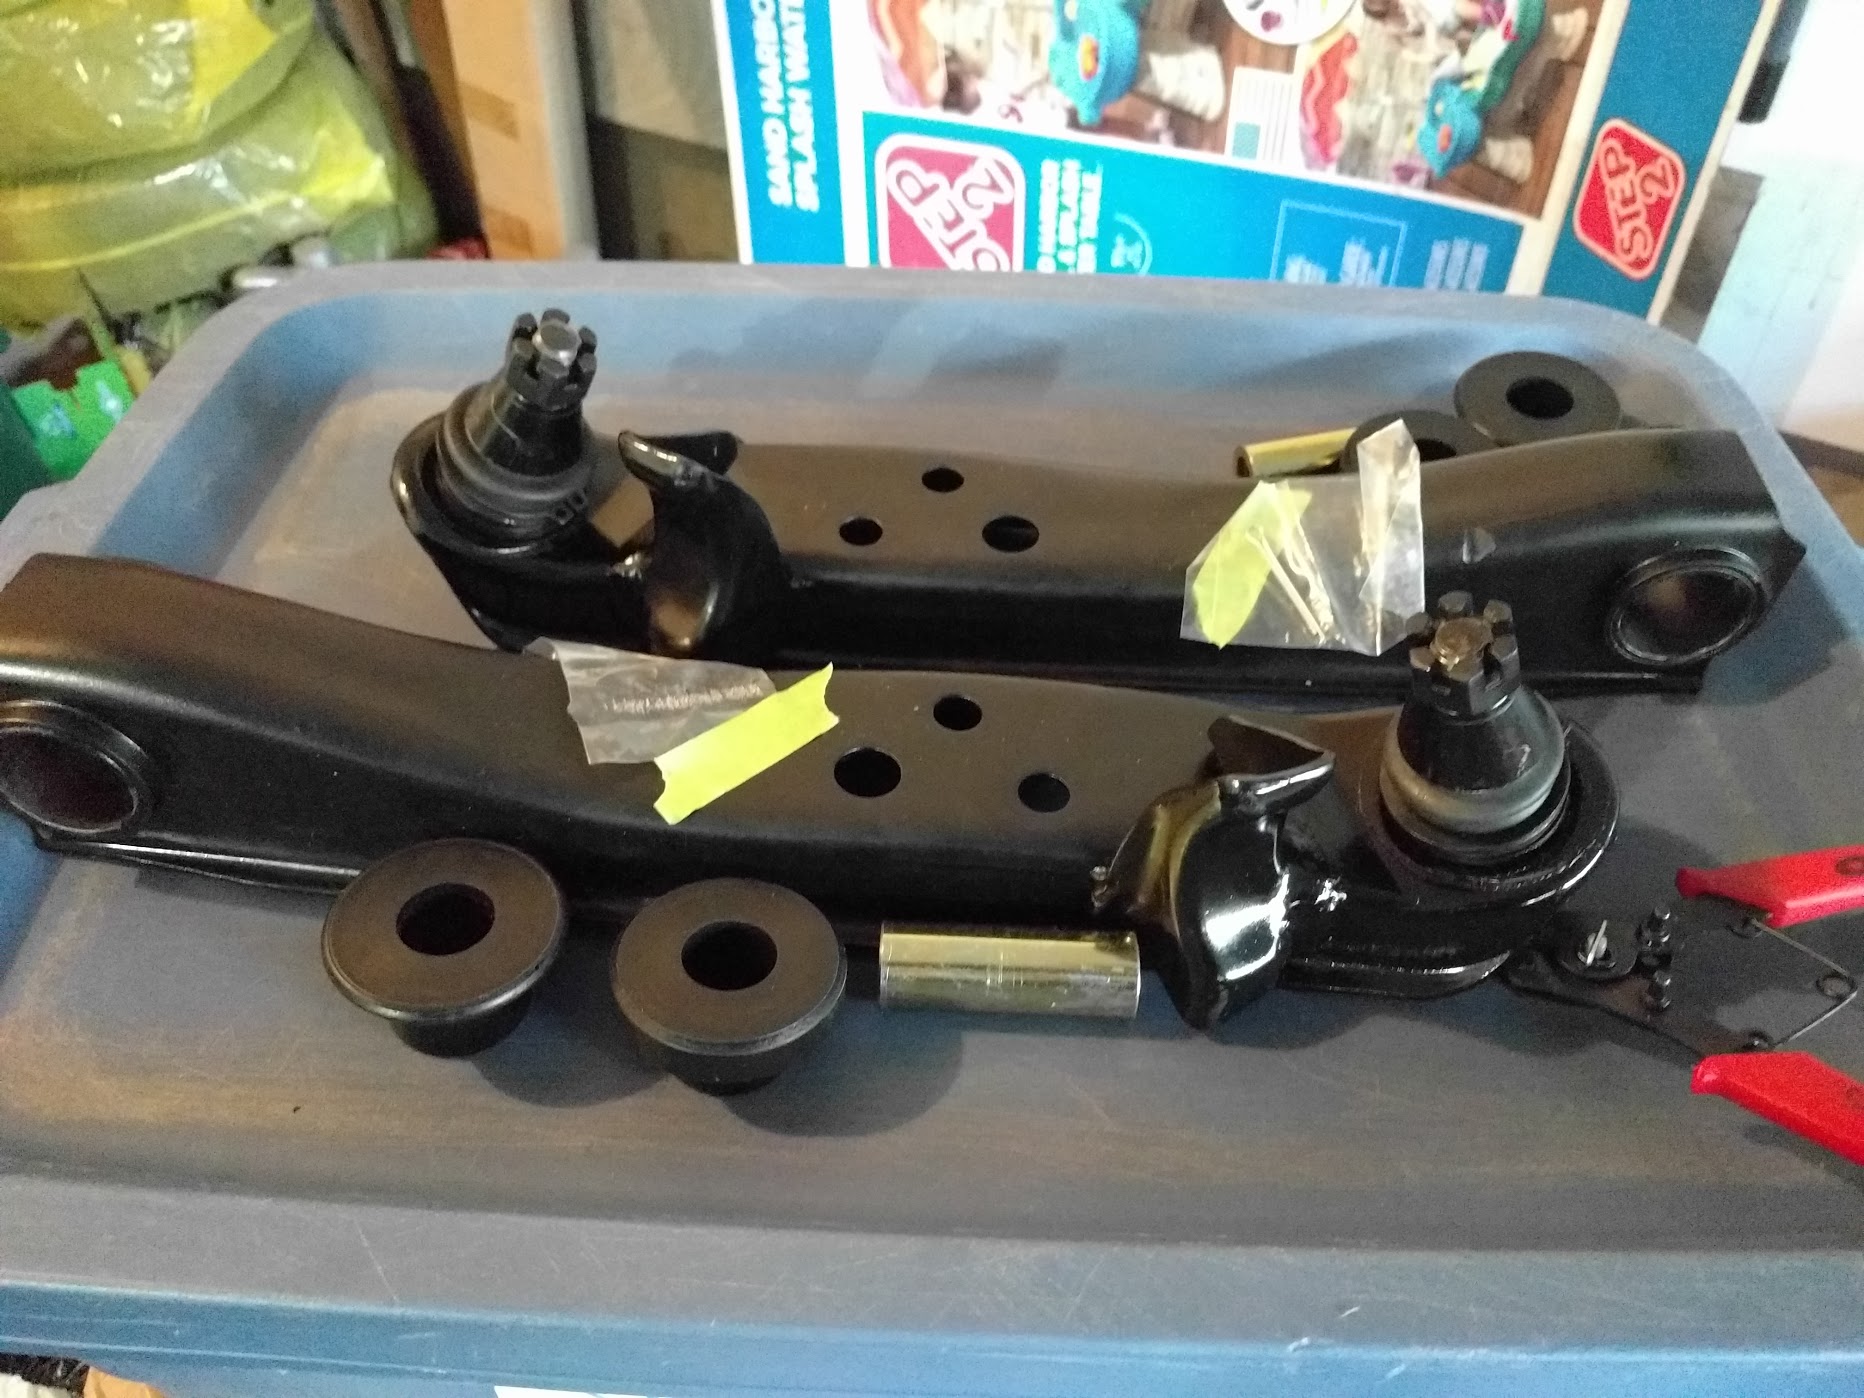
My front-left lower control arm was slightly bent, causing the car’s wheel to be shifted about 0.5-1” forward in the wheel well. Instead of just replacing the bent arm, I decided to get a used arm and rebuild both front arms with new bushings and ball joints. A single new OEM arm was over $350 (CAD), while buying used and rebuilding both arms was less than $250. The downside to rebuilding the arms is that you have to use poly bushings. Nissan didn’t make these arms rebuildable, expecting shops to replace the entire arm. This means they don’t sell replacement rubber bushings for them, so you’re stuck using Energy Suspension’s replacements.
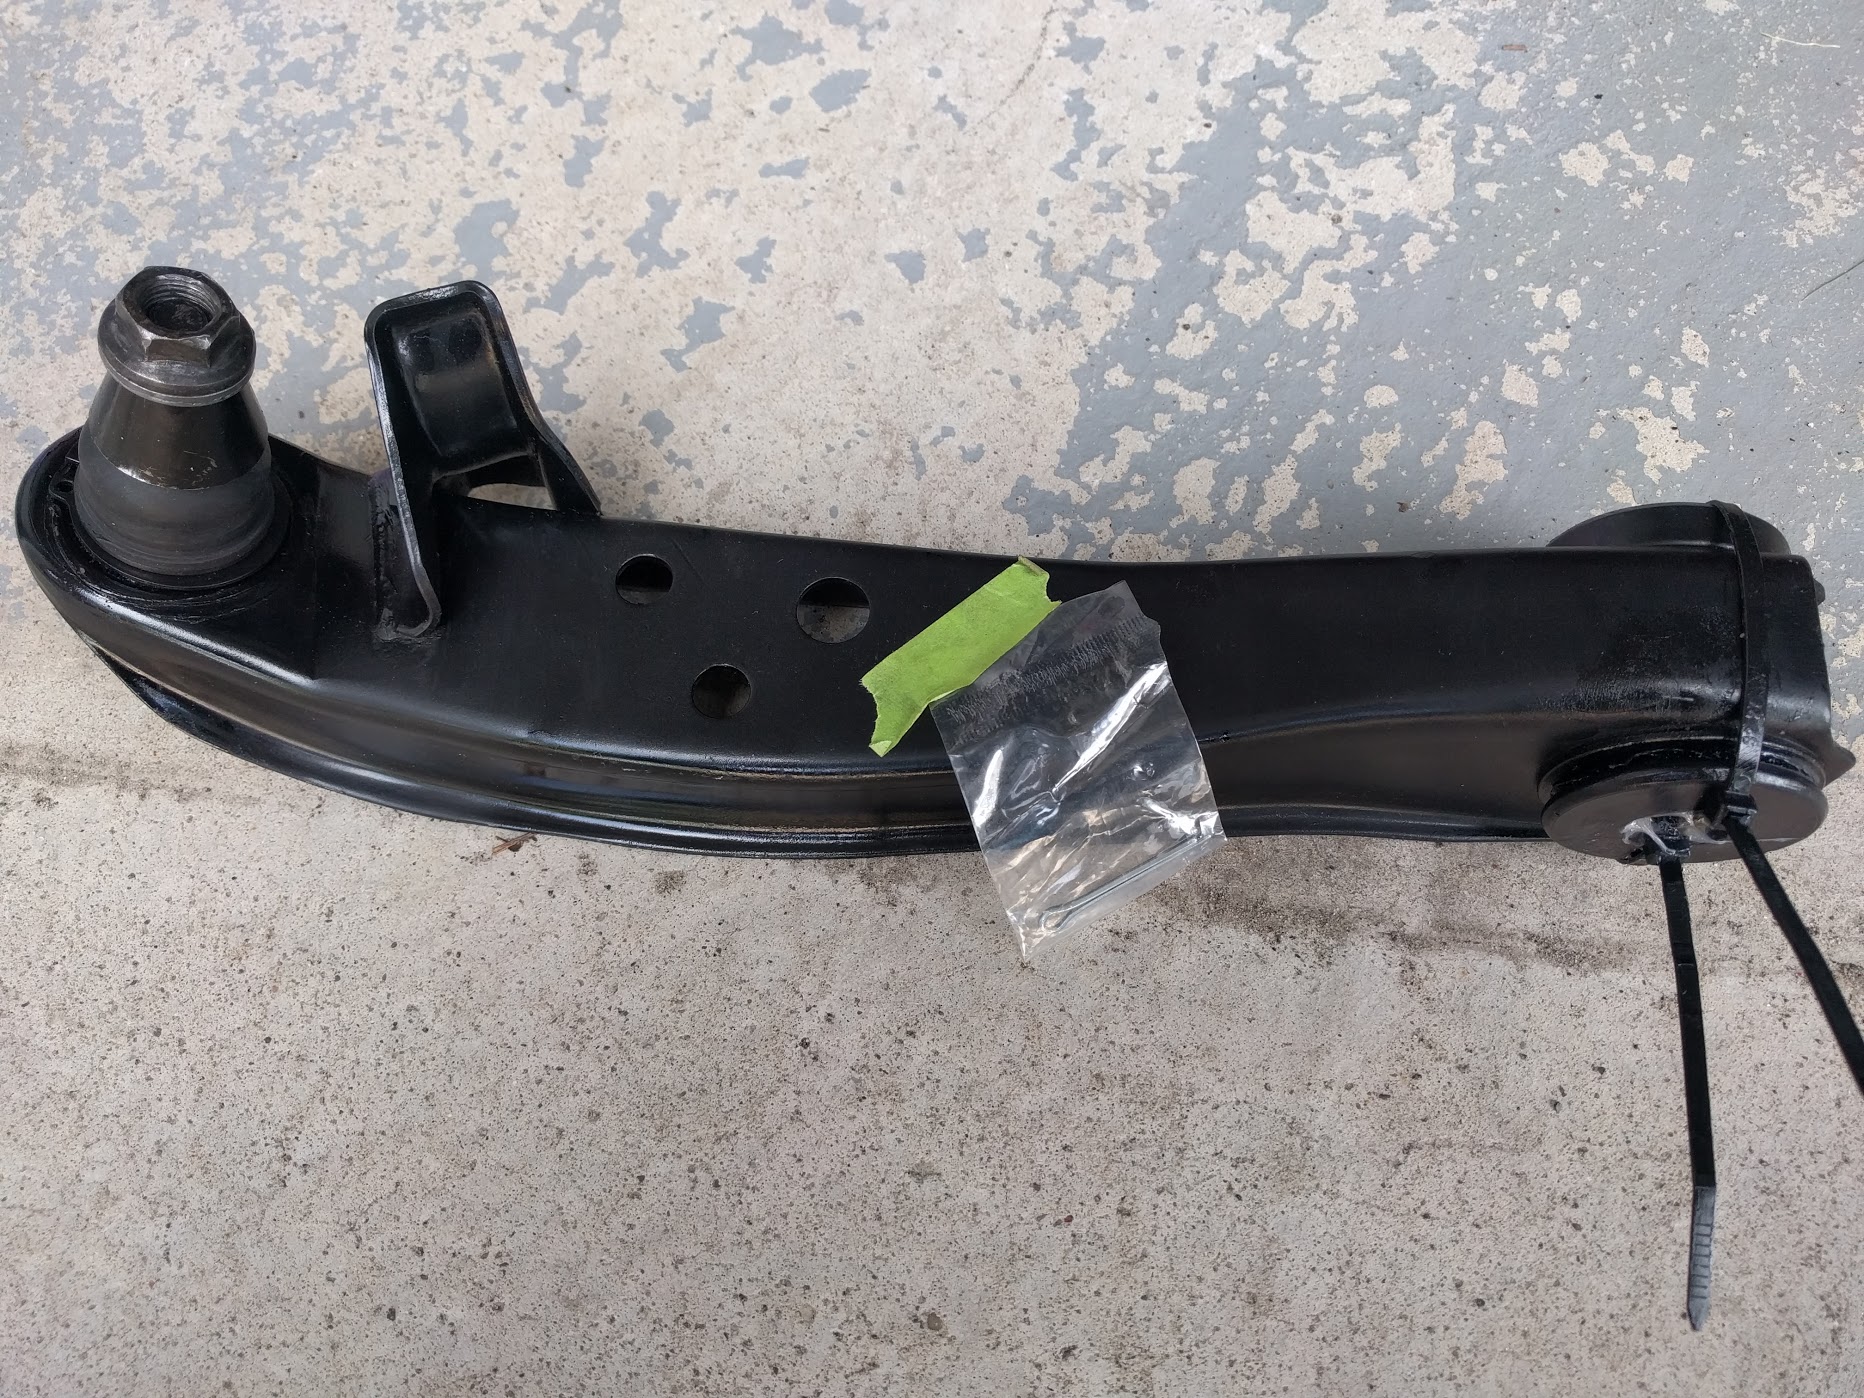
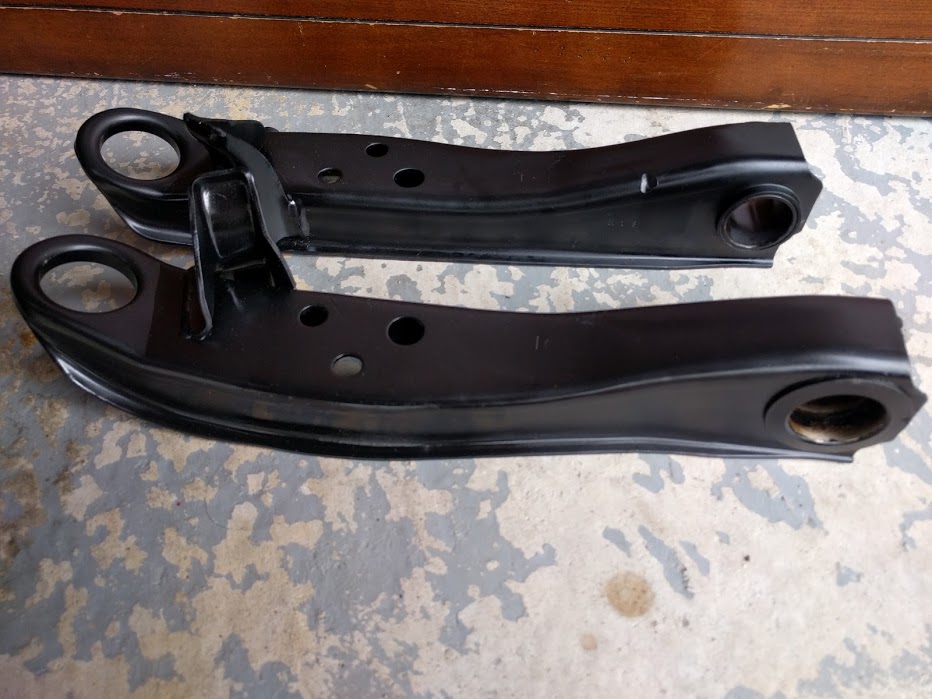
Anyways, here is the “after” shot of one of the LCAs:
Here are a few notes about this process, for those that happen to stumble upon this post and are thinking about doing the same thing…
First and foremost if you are doing this by hand, the ball joints are a pain in the ass and more time consuming than you think they’ll be. Stripping and painting the LCAs is time consuming. Seriously consider just buying the Z1 upgraded LCAs which are well worth the price, given the labour involved.
Still here? OK - by the end, I had to “rent” (free of charge) the following tools from Canadian Tire:
- ball joint press (comes with 3 cups),
- master ball joint press kit (all sorts of cups and adapters), and
- 5T gear/pulley puller.
All in, this is about $500 worth of tools that Canadian Tire let's you borrow for free (with deposit). If you don’t have access to these tools or the ability to borrow them for free, then it probably makes sense to just buy new arms. You’ll also need a breaker bar to get the ball joints in and out.
I opted to burn the bushings out. For those who are thinking about doing this, I’d highly recommend this method if you also plan on painting the arms. It took about 1-2 minutes per arm with a propane torch. The only reason to drill/saw/whatever it out is if you don’t want to paint the arms. You WILL need eye protection. That melting rubber really loves to just spit and pop. To get the bushings out, ust keep heat on the outer bushing sleeve and move it around so it heats up evenly. Do NOT let the rubber catch fire. If it catches fire, just blow it out and keep going. You want to liquify the rubber, not burn it. Burning it just creates a lot of smoke, throws black, stinky ash everywhere, and will piss off your neighbours. If you see the rubber lip on the outside start to come off, just stop and rip it off so it doesn’t catch fire. For the first LCA, once the inner sleeve started moving up a little bit and I could noticably see the liquified rubber, I just grabbed some big pliers and yanked it out. For the 2nd one, the bushing actually just popped out after about a minute (and shot some rubber out too, so be careful - eye protection, long sleeves).
You’ll need to remove the cone-shaped seats on top of the ball joints. These are pressed on when you install the ball joint. They are not easy to remove. I ended up having to rent a pulley puller to remove these. They’re really tiny though, so the puller kept slipping off when I’d tighten it. I ended up having to just wrap the puller in duct tape to keep it from sliding off. This worked like a treat though and got both off easily.
Once the arm is disassembled, I’d suggest first painting the bottom, pressing the ball joint in, and then masking the ball joint and painting the top. Otherwise the ball joint press is just going to fuck up your lovely paint job, like it did mine.
When pushing the inner metal sleeve into the polyurethane bushing, the bushings will start pop back out. I got around this by throwing a couple zip ties around the bushing/arm, through the inner sleeve. As I pushed the bushing in, I’d tighten up the zip ties, which held the bushing in place. Then I just cut the zip ties as I was pushing it up into the bracket under the car.